1. INSUFFICIENT CLIENT PREP
Every job starts with a client. And prepping the client is just as important as prepping the vehicle. Managing client expectations is a big key to success. Show them previous wrap jobs. Note the slits, overlaps and curved corner wraps. Maybe they have never seen a large format digital print close-up. Show them the print quality they can expect. Image quality and color density on perforated window graphics can be a big disappointment to unwary clients as well. Forewarned is forearmed.
2. POOR LAYOUT
Getting a file ready to apply to a vehicle is a tricky procedure. Vehicles can be masses of compound curves, accessories and other knobbly bits. A proper vehicle template is a big bonus. Of course it has to be accompanied by careful measurements of the actual vehicle as real-life variations may occur.
Lay the graphics over the template in your chosen software. See how the images line up and look on the vehicle, from all sides and top. Make sure that the knobbly bits don’t chop off key graphic bits. Check horizon lines—level to the ground doesn’t necessarily look better on a vehicle; strong trim lines may be more effective visual levels. Then go back and have the client proof everything thoroughly.
3. WRONG MATERIALS
Using the right materials can make or break a vehicle wrap. Expected longevity of the wrap is one issue. But just because it might be short term, doesn’t mean using any old vinyl. Materials not meant for wraps can be difficult to apply and the savings in material can be quickly eaten up in the application (not to mention the possible disaster when it comes time to remove it) .
MACtac IMAGin B-free, 3M Comply, Arlon DFP, Oracal Orajet Rapid Air, LG Hausys AirFree, and Avery MPI are the leading contenders for vehicle wraps. There are quality variations in this field as well, with less expensive calendared products available for short term jobs with no big curves. Short term wraps can benefit financially from a liquid laminate, while long term wraps will do better with a matching cold adhesive lamination process.
4. DUSTY WORK ENVIRONMENT
The work area where a wrap is being done has to be spotlessly clean. Any dust in the air can settle between the vinyl and the vehicle and cause unsightly bumps that will result in redoing that section. The vinyl sheets themselves need to be laid out in a clean area before being applied, and any confusion at this stage caused by disorganized workspaces can lead to major headaches.
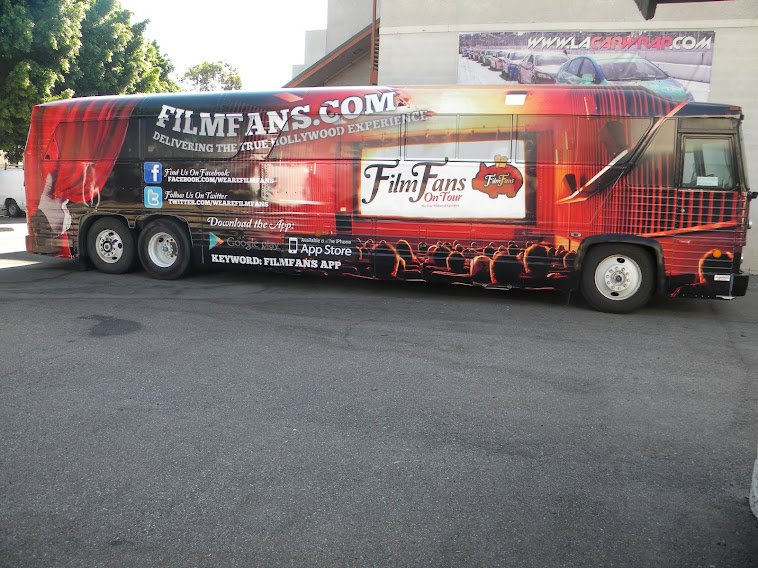
 |
| The application process is perhaps the most difficult part of vehicle wraps to master. Photo courtesy John Corollo. |
Before even thinking about applying a wrap, the vehicle has to be thoroughly washed with soap and water. Grease, tar or other difficult dirt should be removed with an appropriate cleaning fluid. Then the entire vehicle needs to be washed with isopropyl alcohol to completely degrease it, making sure that every little crevice is clean. After this it needs to be dried a clean, soft cloth. Of course, test the paint before using any cleaning fluids on a vehicle.
6. ILL-FITTING GRAPHICS
Before starting to apply the vinyl, it is prudent to test fit the graphics to the vehicle with masking tape. This should be carefully and accurately done to find out exactly where all the knobbly bits fall in relation to the graphics. And to ensure that everything looks like it is supposed to. Better to find layout and/or printing errors now. It’s a big problem to fix them after the job is done.
7. POOR APPLICATION
The application process is perhaps the most difficult to master, particularly with a complex vehicle. Here are some tips to improve your application skills:
• Wet application sounds easier than dry, but it will create a soggy nightmare of non-sticking vinyl.
• Use a hard, clean, sharp squeegee with no nicks in the blade and a soft felt squeegee for detail areas.
• Start at the back and work to the front of the vehicle.
• Bubbles should be removed with a pin, not a razor blade.
• Don’t try to attach vinyl to rubber trim and other moldings, it won’t stick properly.
• Don’t cut the paint when trimming the edges.
8. OVERSTRETCHED CURVES
Those curvy bits in a vehicle can cause a lot of grief. As discussed in section 3, a good quality vinyl can help a lot, but there are still some installation tricks. For minor irregularities, a heat gun utilized carefully can soften the vinyl just enough to allow it to be conformed to the unusual shape.
But don’t stretch too far, where the curves are drastic, small slits can be made along the wide parts to allow for some overlaps. Sometimes the whole darn area needs a complete slit down the middle to make it happen.
9. IMPERFECT EDGES
A wrap can have a lot of edges. A small, consistent, neat overlap will alleviate potential shrinkage. Overlaps should be facing the back or bottom of the vehicle (depending on whether the tiles are vertical or horizontal). Extra squeegeeing of the edges after the job is done can help to seal them down. And finally, perforated window film benefits from 3M Edge Seal painted around the edges.
10. NO SERVICE AFTER THE WRAP
Last but not least is the after-wrap service. Ensure that the client is aware of proper maintenance and cleaning procedures. Offer to do periodic maintenance checks. “An ounce of prevention is worth a pound of cure.” It will make for a satisfied client that is more likely to sing your praises around town. And a client that is visiting your shop periodically, where other purchases can follow.
Tags: